


Get Gorgeous Beach Waves ~ Tips For Every Hair Type From My Stylist
By Katrina Scott on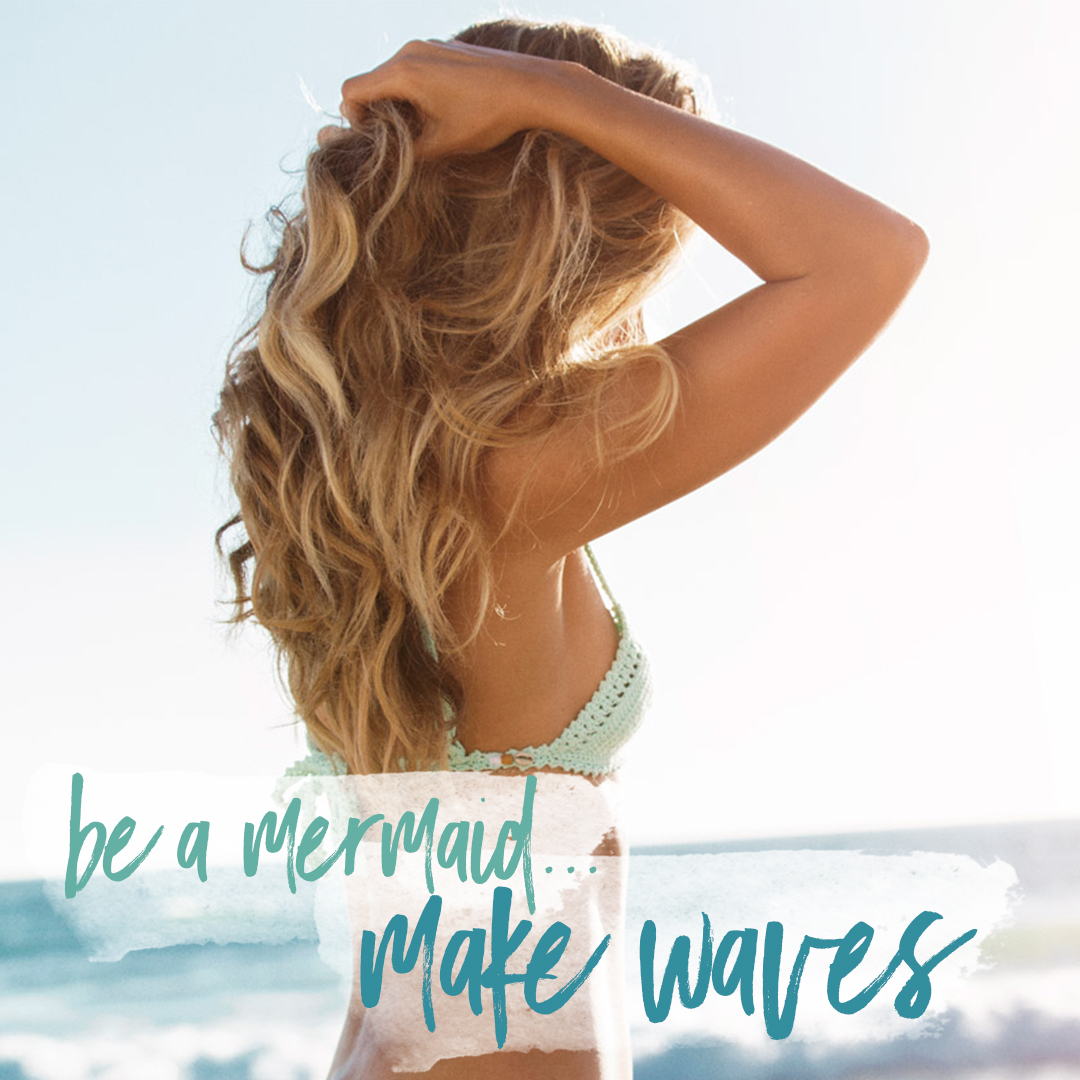
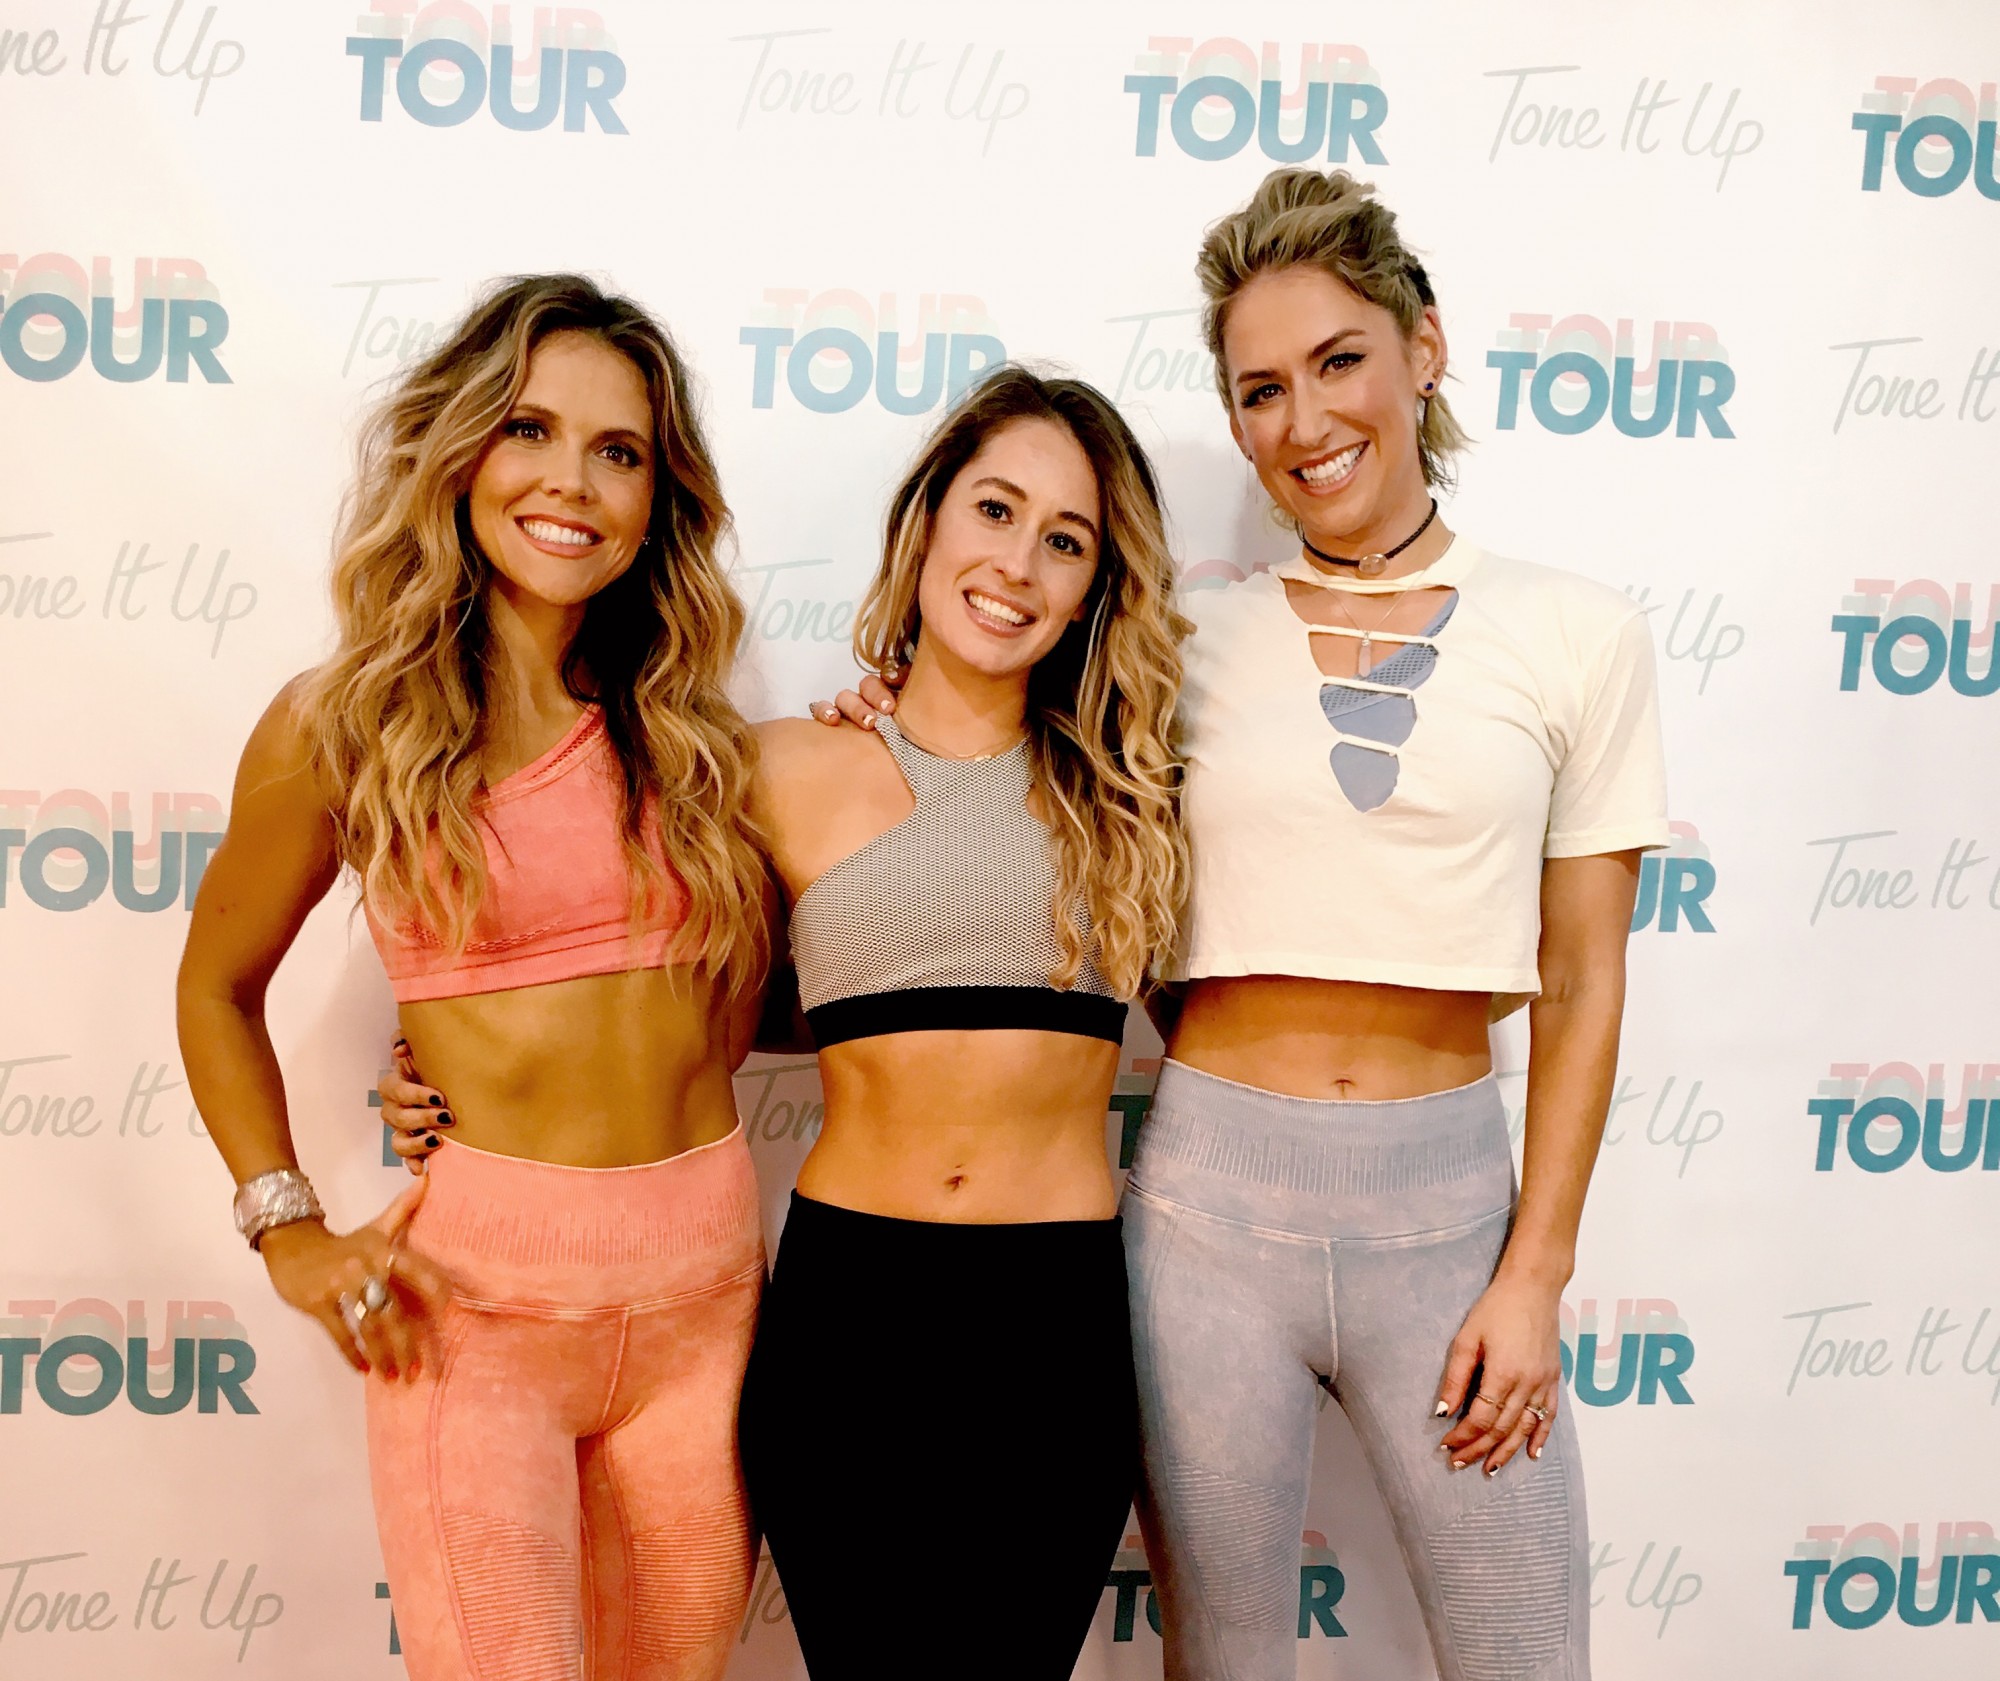
Hi beautiful! How was your weekend? A couple weeks ago, I shared haircare tips from my amazing colorist and friend Abby. If ya missed it, you have to see her genius advice HERE! I asked you to comment with your questions for Abby and so many of you girls asked for style tutorials. So I called Abby up and today she’s sharing her tips on how to get the most gorgeous beach waves. Naturally straight hair, curls, gym hair…don’t care!! You can rock beach waves no matter what!
Have more questions for Abby? Share in the comments!
xxo,
Kat
![]()
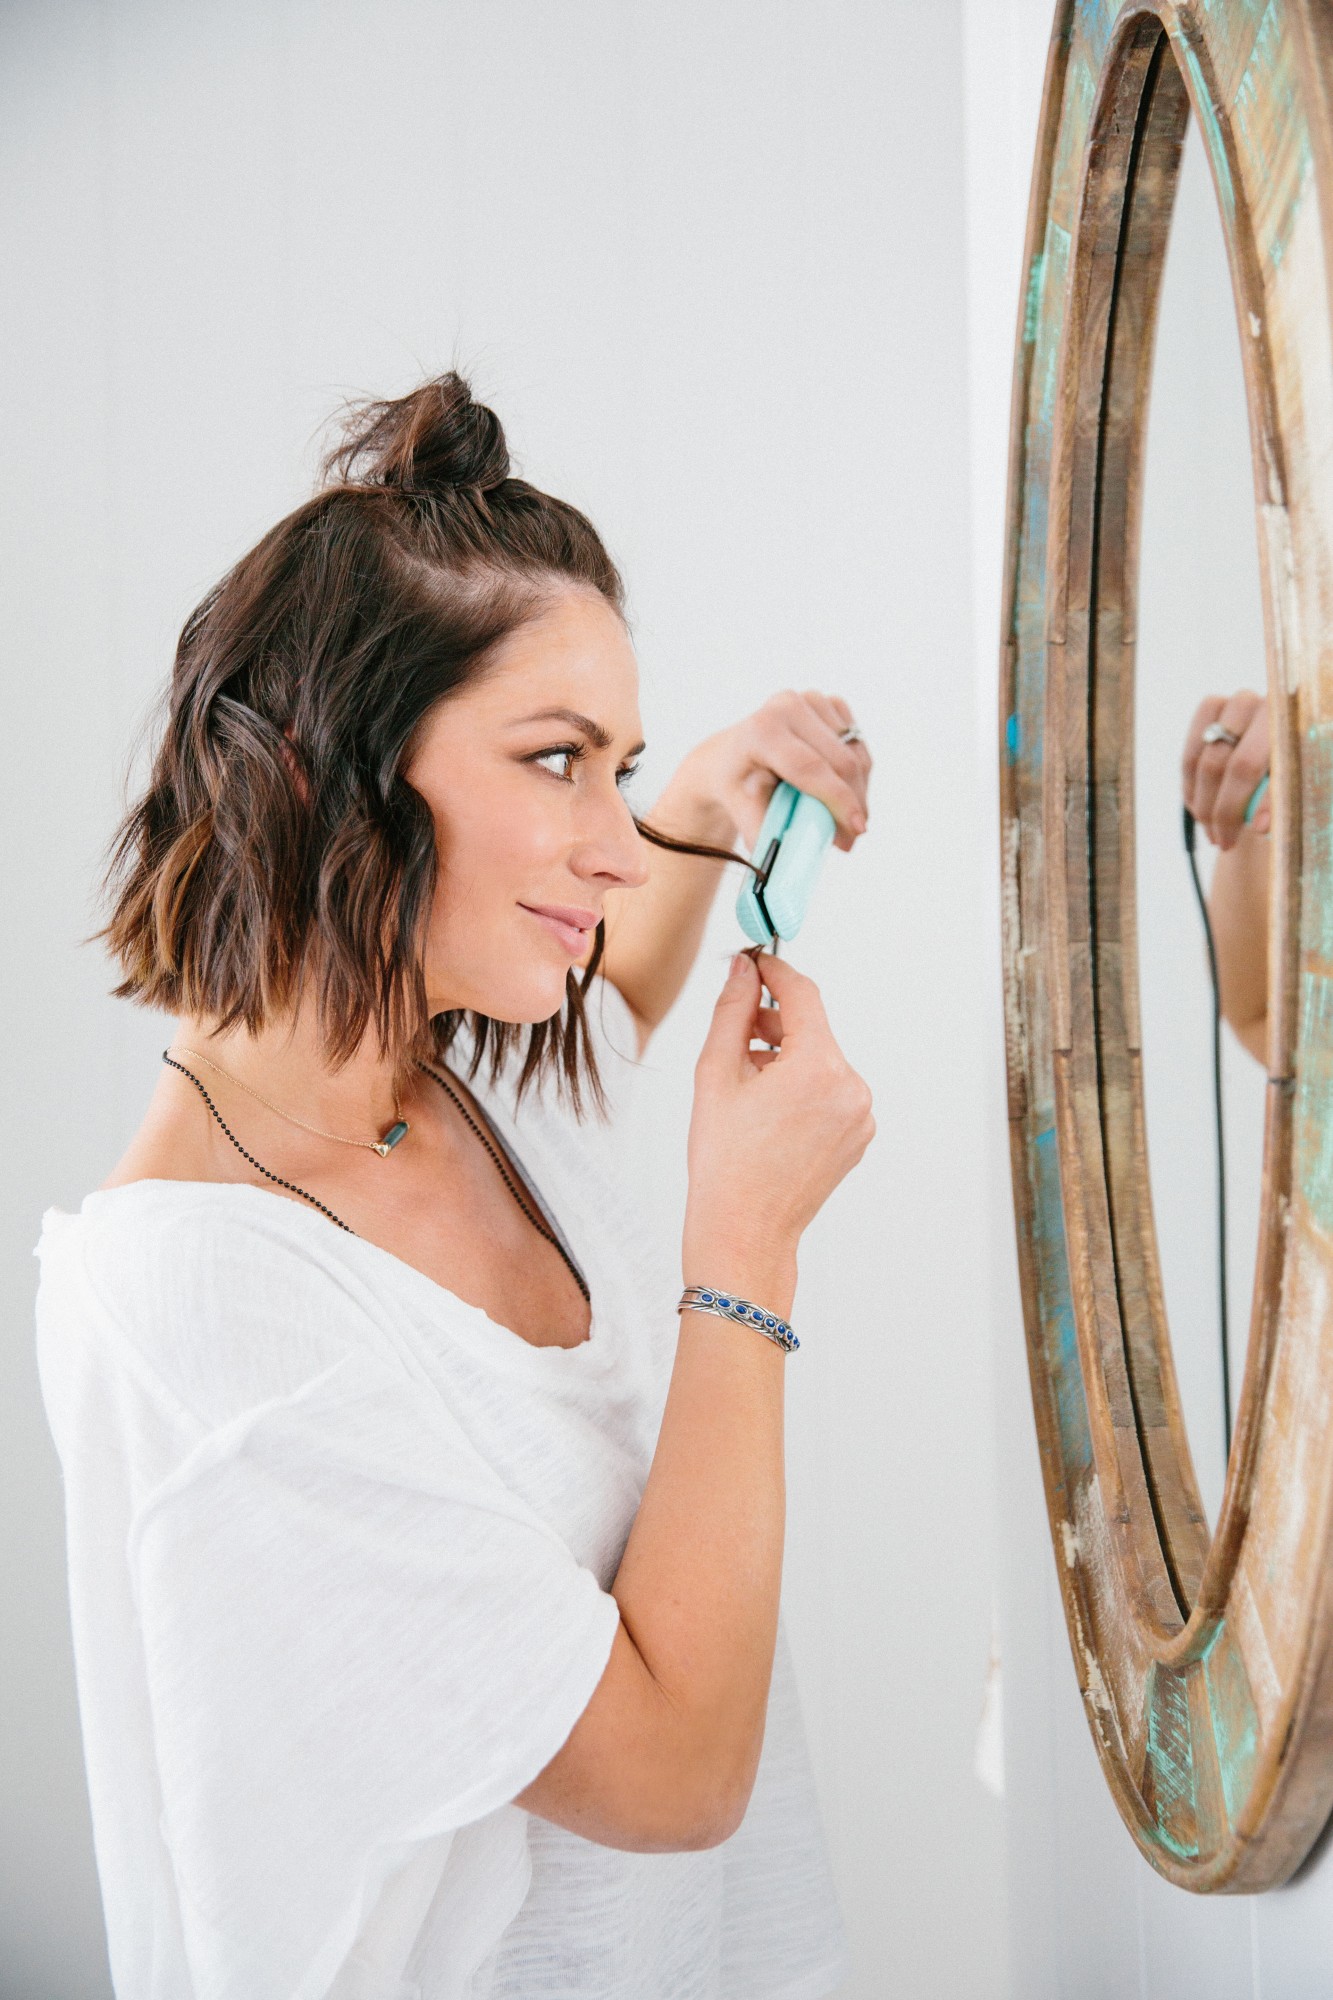
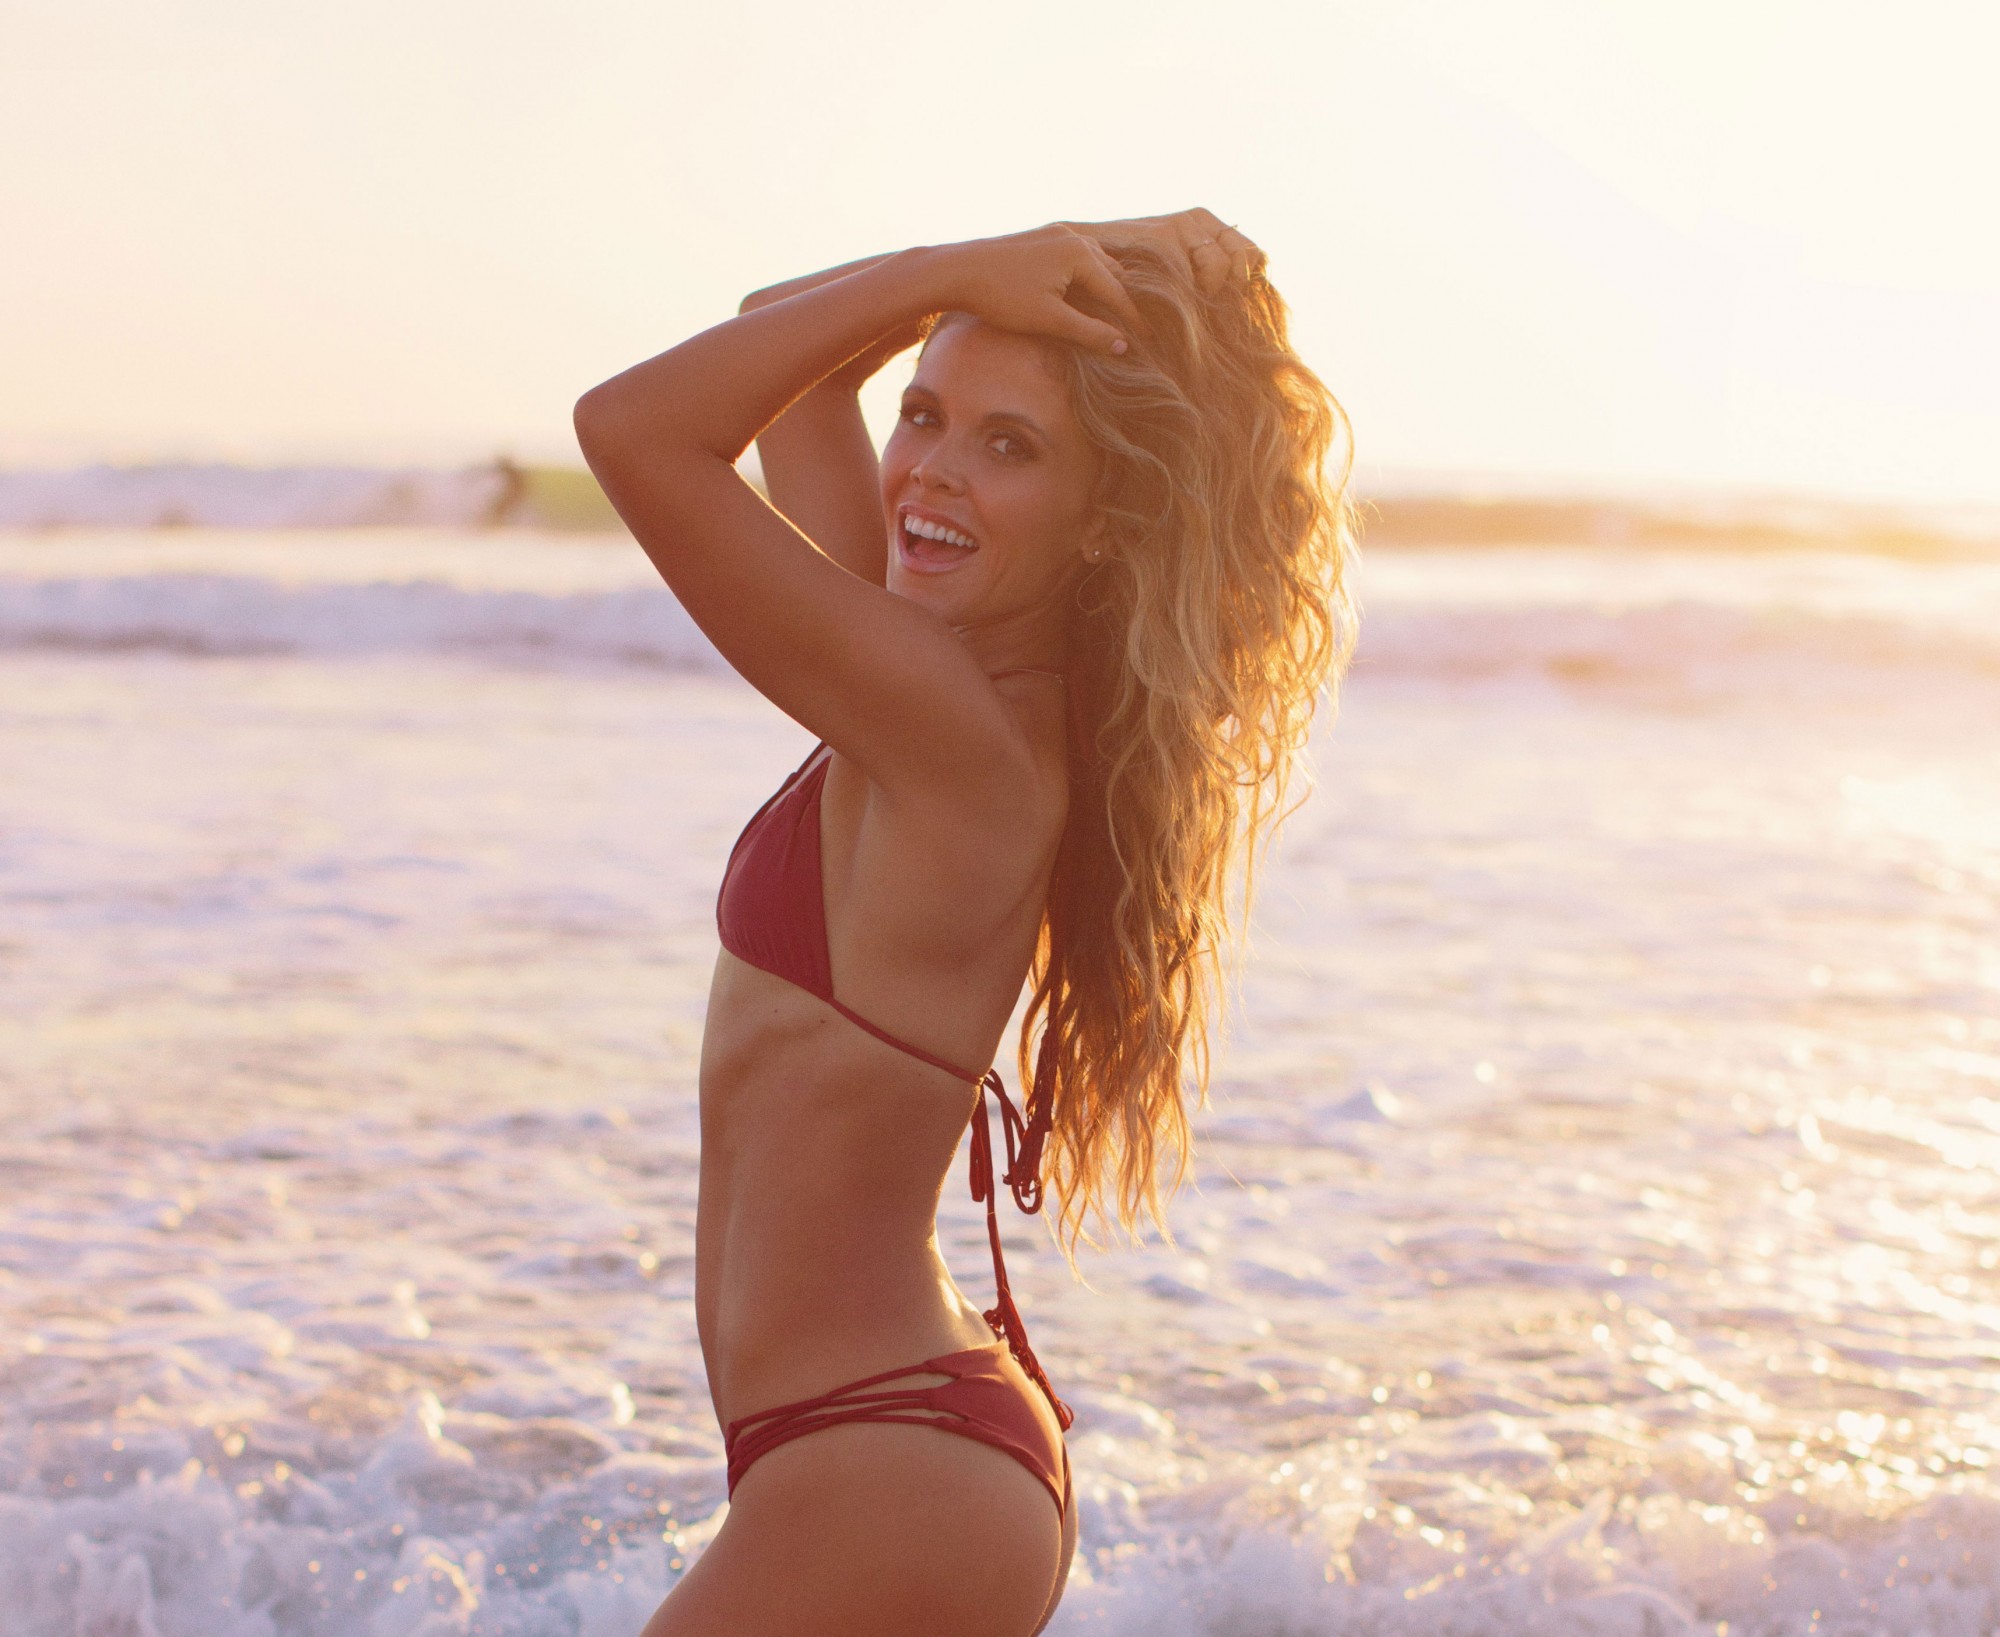
If you have naturally straight hair…
~" If your hair were any shinier, I’d need sunglasses.” ~
Abby: It’s actually really simple to create those dreamy beach waves! I’m breaking it down for ya ~
STEP 1: Prep your hair with The Ouai Wave Spray.
STEP 2: For my naturally straight-haired girls, don't blow dry your locks straight. Rough dry your hair upside down to create volume at the root.
STEP 3: I always recommend using a heat protector spray, cream, or oil to shield your hair from damage while using the curling iron. Some products I love ~ The Ouai Memory Mist, Living Proof Restore Instant Protection Spray, and L'Oreal Professionnel Série Expert 10 in 1 Spray.
STEP 4: Now you’re ready for the curling iron! The smaller the curling iron, the tighter the curl and the longer it will last. I pretty much only use a 1-inch or 1 1/4-inch curling iron. For finer straight short hair, I use the 1 inch. For long thicker hair, I use the 1 1/4 inch. The easiest way to curl your own hair is to start in the back at the nape of the neck and move up and toward the front. Make sure to always curl your hair away from your face!
Start curling your hair alternating directions, leaving approximately 2 inches out from the bottom. Leaving a bit uncurled at the bottom will give it that gorgeous carefree, undone look! You can polish the ends with a flat iron if you want to.
STEP 5: Spray a generous amount of Oribe Dry Texture Spray. The scent is EVERYTHING and it works the best on ALL hair types.
STEP 6: Use an inexpensive wide tooth comb or your fingers to brush out curls to desired softness and voila…gorgeous!!
More pro tips:
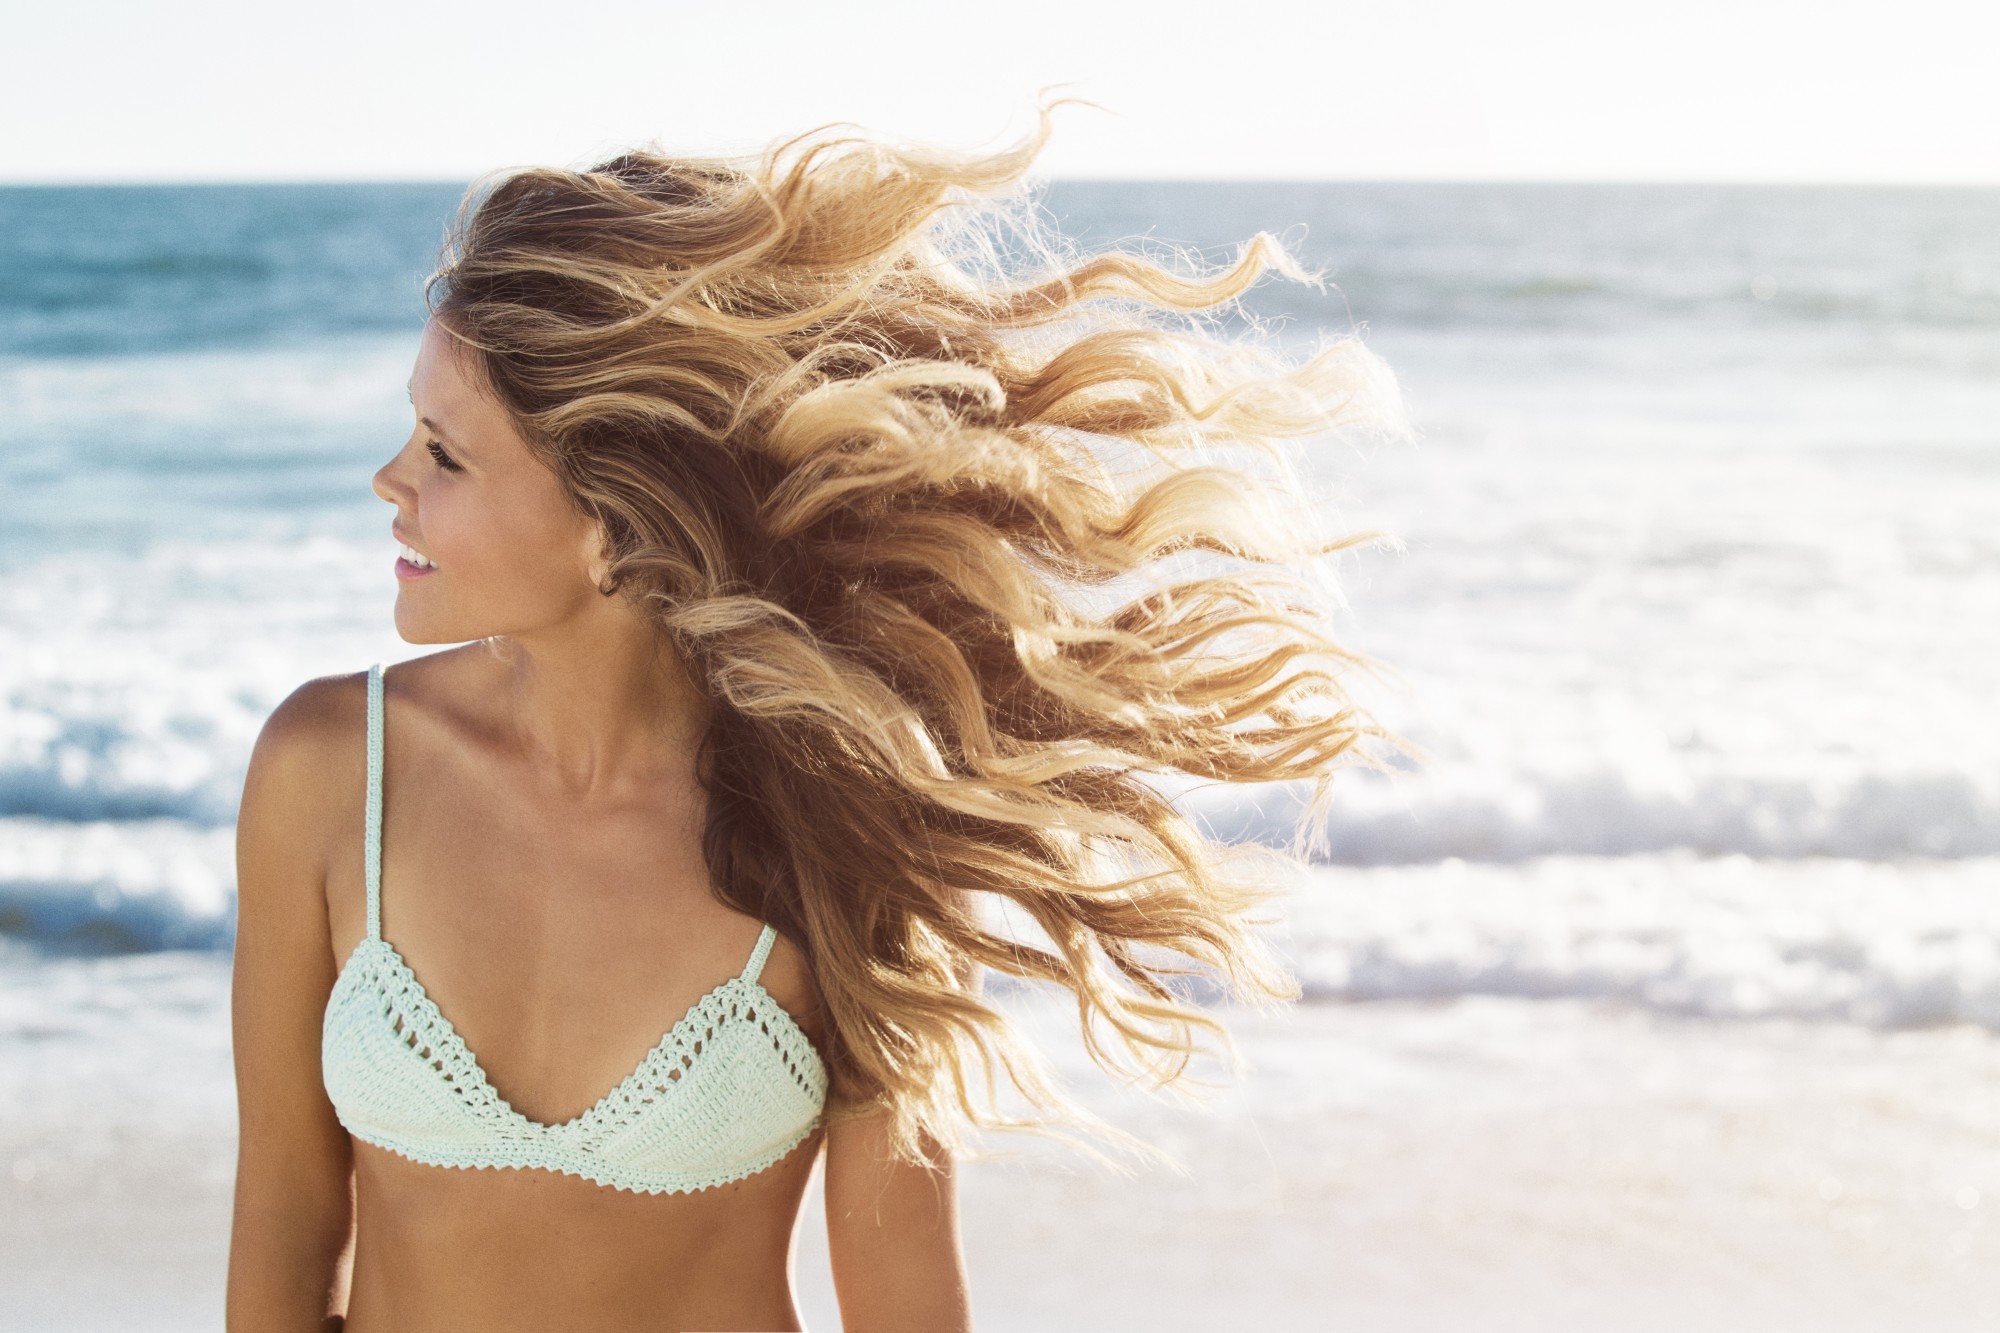
Don’t be afraid to get a little bit dirrttyyyyy 😌
Abby: The dirtier the hair, the better and better your beach waves will look! Dry shampoo is your best friend and will give your hair extra texture. Some of my fave dry shampoos ~ Living Proof, Rene Furterer Naturia, and Batiste. (Sephora often has travel size gift sets of multiple brands so it makes it easy to pick and choose which brands you like!).
If you have an oily scalp, that’s really common so no worries ~ just wash your hair more often and follow steps 1 - 6 and you’re all set!
If you have naturally curly hair…
~ "I’m a queen crowned in curls." ~
Abby: I have naturally curly hair and this is the routine I swear by ~
STEP 1: After I wash my hair, I spray in UNITE 7 Seconds Leave in Detangler and comb it through. Then I apply a nickel sized amount of Madam CJ Walker Beauty Culture and scrunch it into my hair. This helps combat dryness and gives you that soft, natural beachy look. Play around with how much product you use and what works for your hair. It softens up with each day that passes.
STEP 2: I clip my hair into a loose ball with a claw clip for an hour or two to define my curls (this is key for me!!). To make a loose ball, don't wrap your hair tightly as you would when doing a top knot. This will straighten out your curls. Instead, gather your hair loosely and twist it once (or more depending on how long your hair is) and secure it with a clip like this one. This way, the curls will dry without frizzing. After an hour or two, take it down and allow hair to air dry. If you need something a little more ready to wear, I suggest lightly diffusing your hair.
STEP 3: Spray in dry shampoo or texture spray. The Oribe Dry Texture Spray is amaaaazing for curly hair too!
STEP 4: Touch up and polish your hair with a curling iron. Remember to always curl away from your face! Wrap your hair around the iron instead of using the clamp. This gives it a more natural, beachy look! Then pull down on each curled piece to make it look extra-natural.
STEP 5: Give it one more spritz of your texture spray and you’re ready to rock your gorgeous curls!!
More pro tips:
Abby: I don't wash my hair the night after I style it. It only gets better and better the days to follow. I sometimes go 3 - 4 days without washing it…yep, 3-4 days! I shower with a shower cap. This doesn’t work for everyone so it just depends on your hair type. Do what works for you babe!

 For women, by women
 Share. Love. Inspire. Sweat.
 Live Your Healthiest, Happiest Life